How to Sharpen a Japanese Knife: My First Time, 13 Years Late
There are no affiliate links in this article — I have no relationship with anyone who sells this knife or this stone. How this site makes money.
I have owned the same santoku since 26 February 2013. Last week I put it on a whetstone for the first time. This is what learning how to sharpen a japanese knife actually looked like — including the mediocre result I got, why I think I got it, and the part where the test everybody recommends turned out to check only a third of the blade.
I am not going to teach you technique. I have done this once. What I can give you is the three diagnostics I used, which are checkable and which worked, and an honest account of where I got to and where I did not.
The knife, and what I did to it
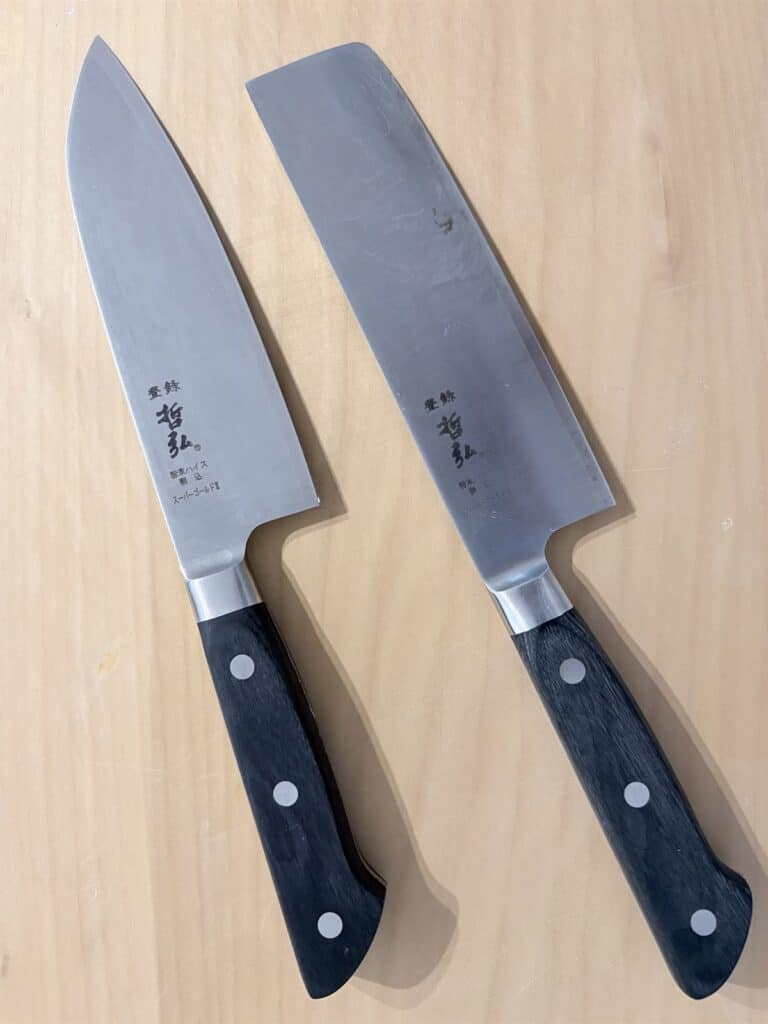
It is a Verdun santoku, 165mm, made by Shimomura Kogyo in Tsubame-Sanjo — the same knife-making region in Niigata that produced the two expensive knives I usually write about. Molybdenum vanadium stainless. It cost a few thousand yen. It is the oldest thing in my kitchen.
For thirteen and a half years it has been the knife I reach for when I do not want to think — the one that opens packaging, cuts through a squash, gets used by other people.
And for thirteen and a half years I put it in the dishwasher, because the product page says it is dishwasher safe.
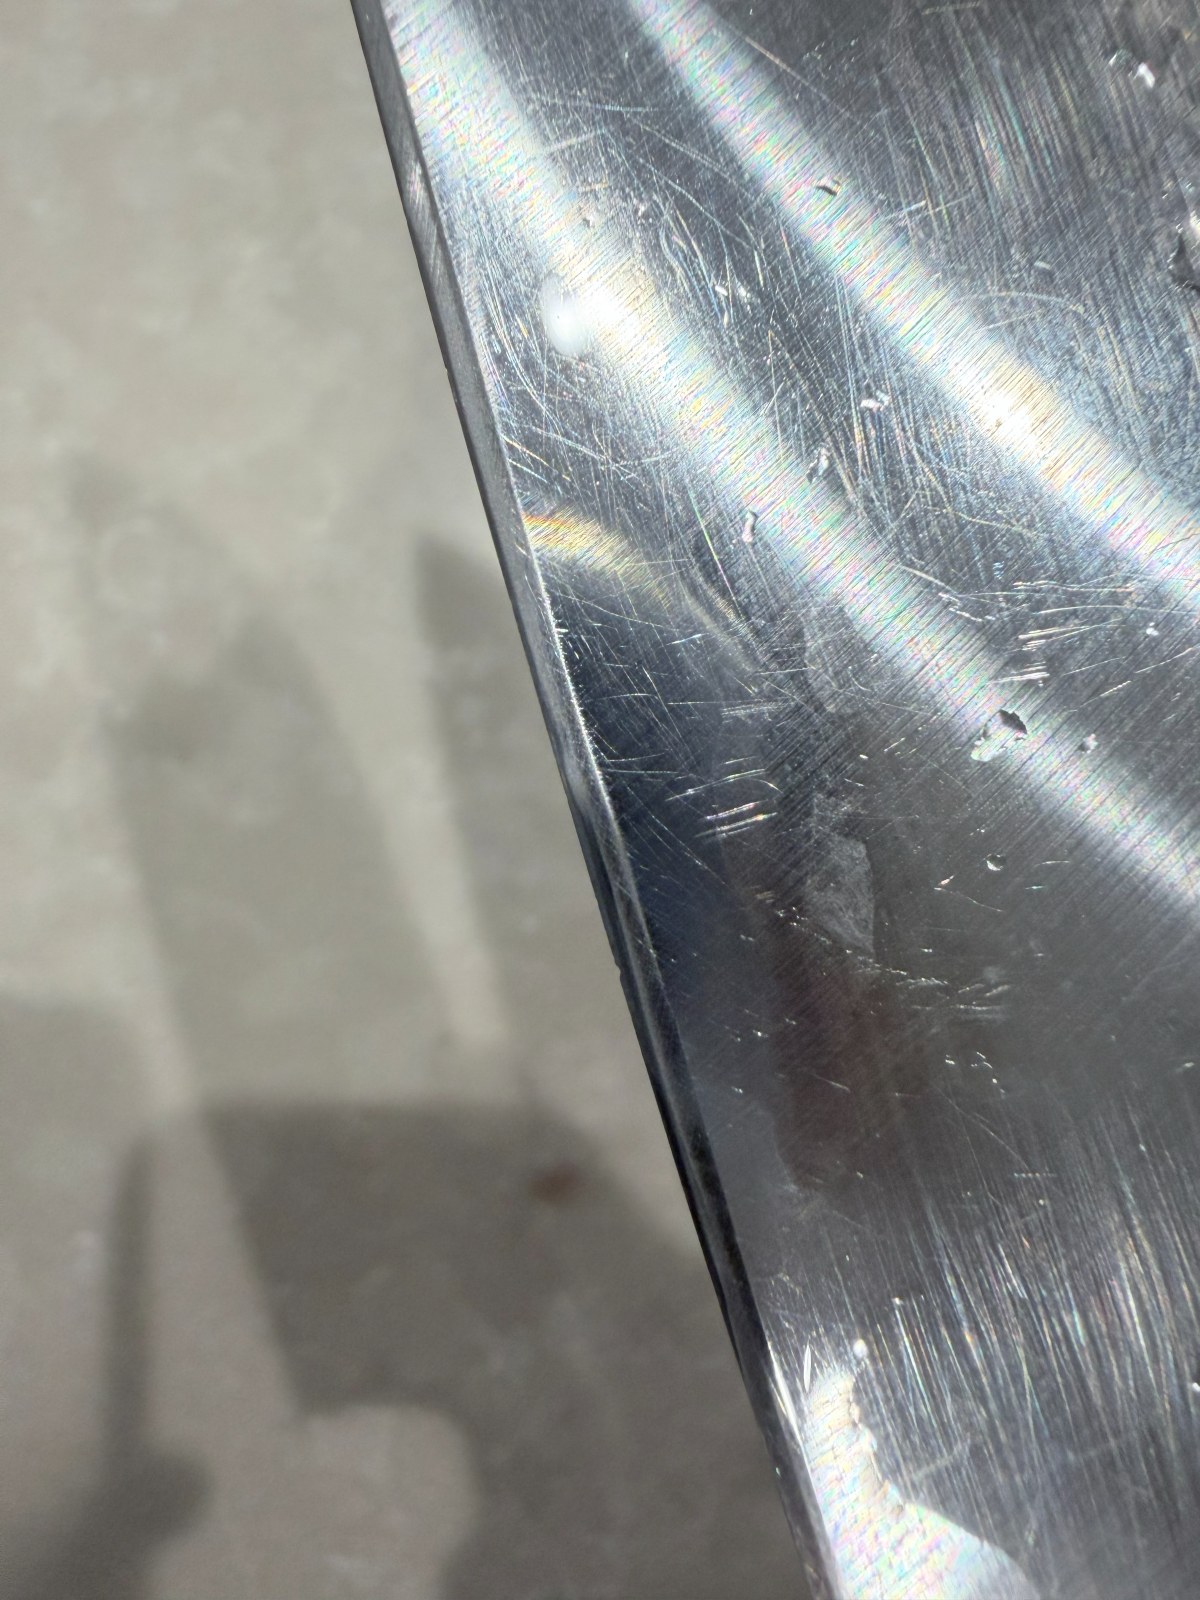
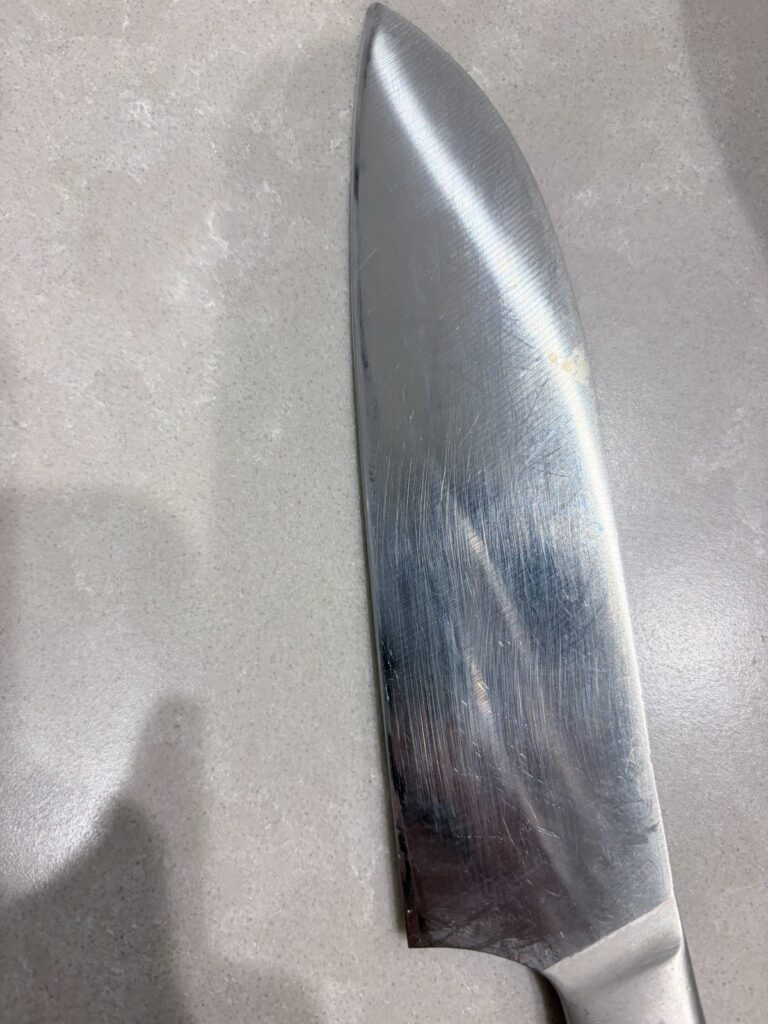
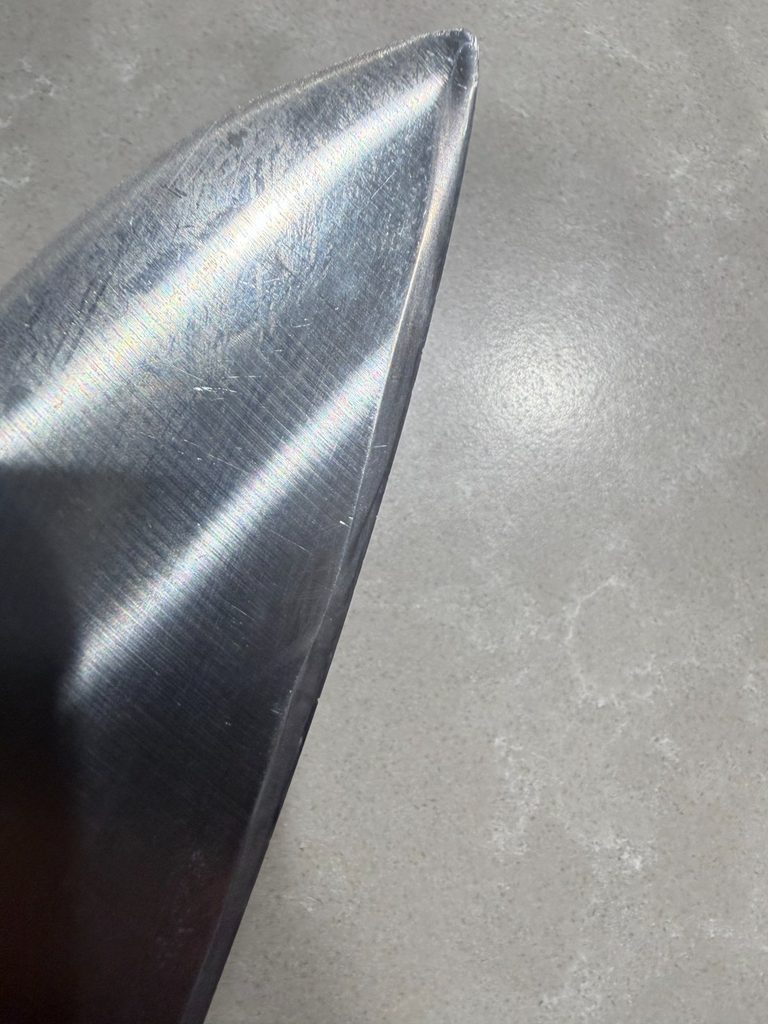
It is chipped. Not catastrophically, but visibly: nicks along the edge, worst at the tip and worst again at the heel.
What “dishwasher safe” is actually a claim about
Here is the thing I got wrong, and it is a language problem rather than a maintenance one.
Dishwasher safe is a claim about the knife as an object. The steel will not corrode. The handle will not swell, crack or come loose. Put this knife through a thousand cycles and you will still have a knife. That claim is true, and thirteen years says so.
It is not a claim about the edge.
The edge is a few microns of steel. In a dishwasher it rattles against a wire rack, knocks into other cutlery, and sits in hot alkaline detergent. Nothing in “the knife will survive” promises that the finest part of it will.
I want to be careful here. Thirteen and a half years contains a lot of other things: cutting on boards, being thrown in a drawer, hitting a bone, being used by people who were not being gentle. I cannot isolate the dishwasher as the cause and I am not going to claim I can. What I can tell you is that the maker says dishwasher safe, I took that at face value for thirteen years, and the edge is chipped.
I already had the dishwasher on my list of things that ruin a Japanese knife. I had written it without owning the evidence. Now I own the evidence.
How to sharpen a japanese knife: what I actually did
I bought a King KW-65 — a combination stone, 1000 grit on one side and 6000 on the other, with a plastic base. It is the stone every English-language beginner guide names, and it runs about $47.
The knife I practised on was deliberately the cheap one. I did not touch my SG2 knives, which have gone two years without sharpening and are staying that way until I know what I am doing.
Soak the stone until the bubbles stop. Then, roughly:
- Colour the bevel with a marker
- Grind one side at a low angle until a burr comes up along the whole edge
- Flip, do the other side
- Move to 6000, lighter, alternating sides, to take the burr off
That is the shape of it. The interesting part is what each step told me.
The marker trick that told me I was wrong
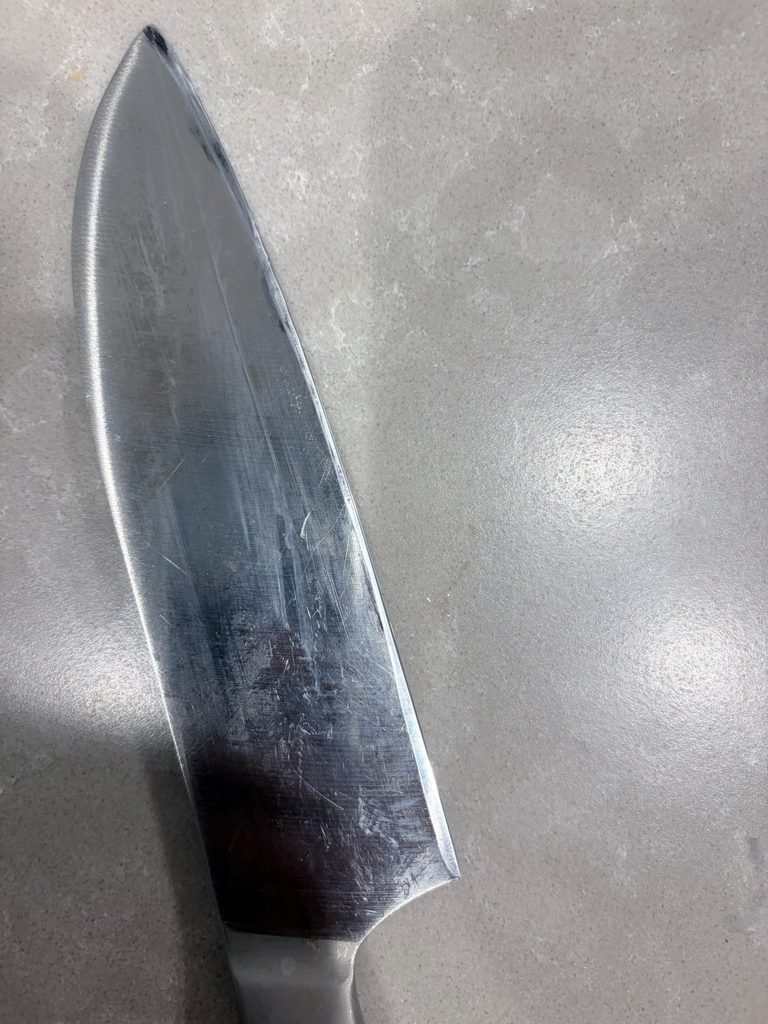
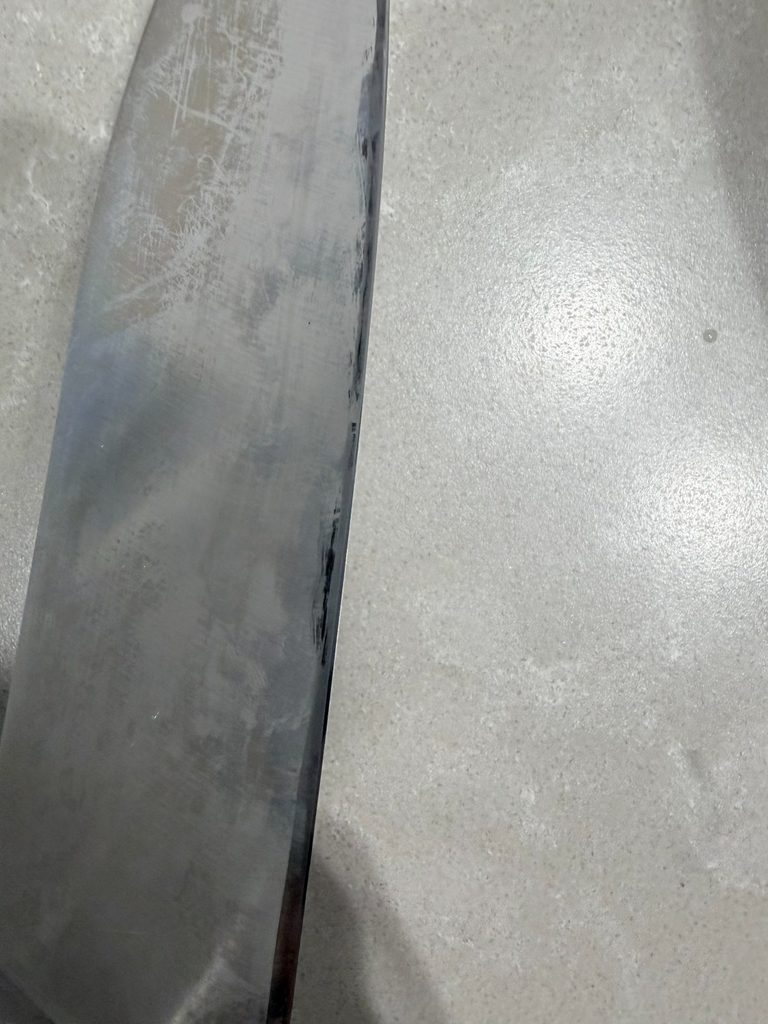
Before the first stroke I coloured the bevel — the narrow angled band along the edge — with a black permanent marker.
Three strokes, then look. It tells you instantly where the stone is actually touching:
- Ink gone right at the edge, still there above it → you are hitting the apex. This is what you want
- Ink still on at the very edge → your angle is too low. You are polishing the shoulder and never reaching the part that cuts
- Ink gone everywhere including high up → your angle is too steep
Mine came out the first way, which was luck as much as anything. If it had come out the second way I could have ground for an hour and changed nothing about how the knife cuts — and I would not have known why.
This costs one marker pen and about ten seconds. It is the single most useful thing I did.
One hundred strokes
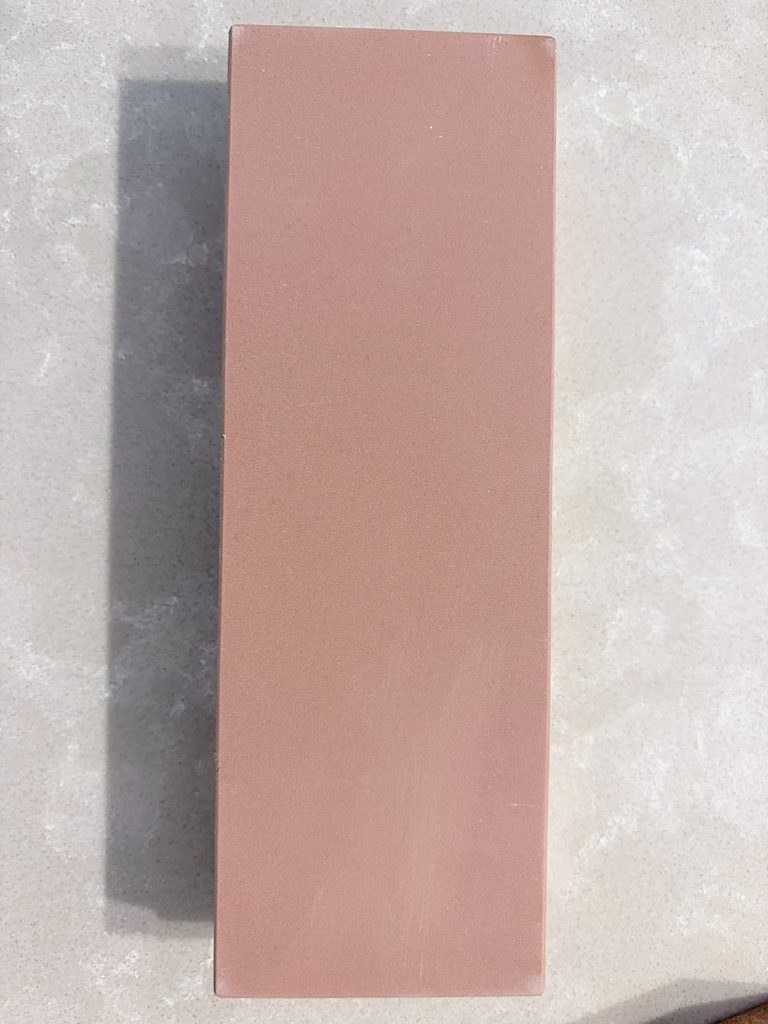
Then it is just work.
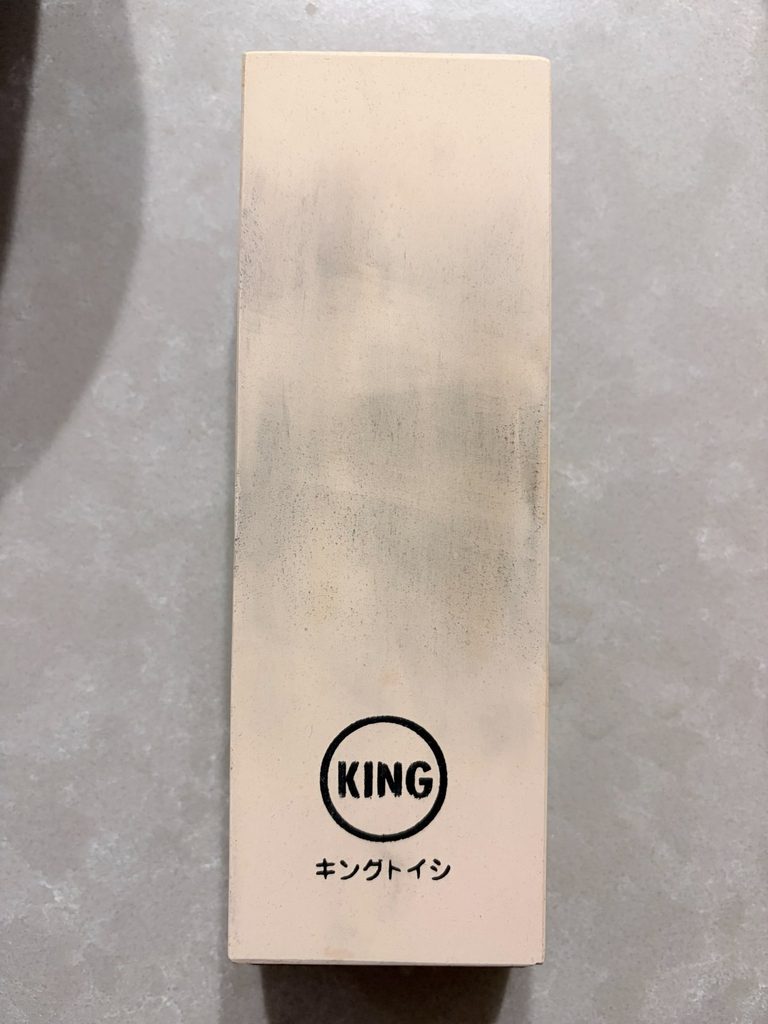
I did about a hundred passes on the 1000 grit side, and I checked for a burr the whole way. A burr is the giveaway that you have arrived. As you grind one side, metal gets pushed out past the edge and forms a faint ragged lip on the other side. Run a fingertip across the edge — across it, never along it — and you feel it catch.
It has to run the entire length before you flip. Heel to tip. If a section has no burr, that section has not been sharpened, and flipping over locks in the miss.
I got a burr along the full edge, tip and heel included. Then the other side. Then onto the 6000 to take the burr off, alternating sides with almost no pressure.
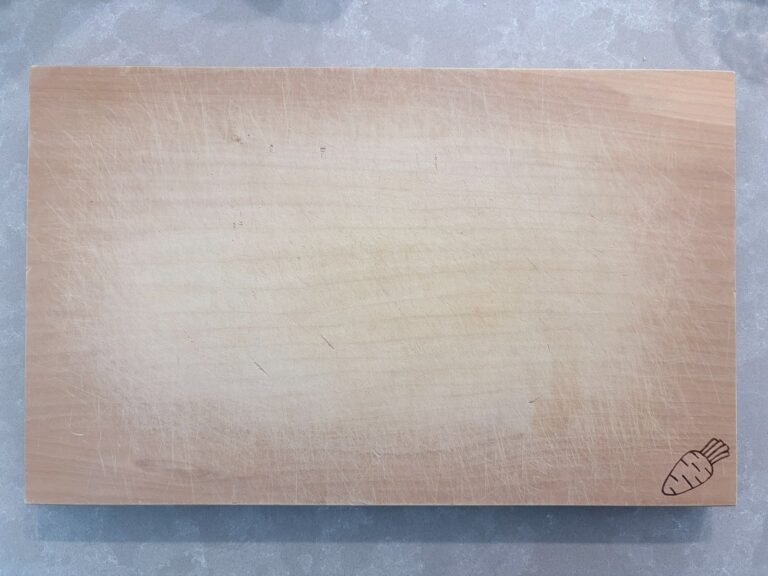
The stone told its own story. A fresh 1000 grit face and the same stone after one session do not look alike — that is one knife, one hour.
Returning, and the thing I had misunderstood
I expected the chips to be gone. They are not.
Here is what I had conflated, and I think most beginners do:
- Raising a burr means the two bevels have met. You have made an edge
- Removing a chip means grinding the entire edge line back past the deepest point of the chip
The first does not give you the second. A chip is a notch in the edge line. The steel on either side of that notch sharpens normally and raises a burr normally. The notch just stays there, a gap in an otherwise finished edge.
And the 6000 grit side is irrelevant to this. A finishing stone barely removes metal. It refines the surface; it does not move the edge line. Every minute I spent on 6000 hoping the chips would fade was a minute doing something else entirely.
Chip removal is a 1000-grit job, and if the chips are deep it is a coarse-stone job — 200 or 400 — which I do not own.
What the paper test does not tell you
Every guide ends the same way: cut a sheet of paper. If it slices cleanly, you are done.
Mine cut paper. It also needed a push to do it.
That is worth saying plainly, because no guide prepares you for a middling result. A properly finished edge falls through paper. You draw it across and the sheet parts, with essentially no downward force. Mine parted the sheet only when I leaned on it. Better than before, and not sharp.
Then I tested the heel on its own, and the tip on its own. Neither cut.
And here is the second thing, which took me longer to see: paper could not have told me about those two parts anyway. You cannot get force into a sheet of paper with the heel — your hand is in the way. You cannot get any draw at the tip — there is barely any edge there to work with. The geometry does not allow it.
So the paper test checks the middle third of the knife, doing a draw cut, which is precisely what the middle third is for. It is also the part that lies flattest on the stone, collects the most strokes, and finishes first.
The test everybody recommends validates the easiest third of the blade and is silent about the rest. I have not seen that written down anywhere.
What you want is to test each region the way you actually use it:
| Part of the blade | What it really does | How to test it |
|---|---|---|
| Middle | Draw cuts, slicing | A sheet of paper |
| Tip | Piercing, fine work, peeling | Push the tip through paper; score tomato skin with the tip alone |
| Heel | Push cuts through hard things | Press down through a carrot using the heel only |
By that standard my knife failed all three. The middle passed under pressure, which is not passing. The tip and the heel did not cut.
What I think I got wrong
I cannot be certain. One session, no instructor, no microscope. But there is an obvious suspect, and it is the finishing stone.
The 6000 grit side exists to remove the burr and refine the surface. It is not for pressing on. If you lean on a finishing stone, or let your angle creep upward on those last passes, you round over the very apex you spent an hour creating. The edge comes off the stone looking beautiful and cutting worse than it did ten minutes earlier.
That fits what I have: an edge that is visibly polished, that demonstrably reached the apex earlier in the session — the marker proved that — and that now needs pressure to cut paper.
The other candidate is the burr. If a burr tears away unevenly instead of being abraded off cleanly, what is left is ragged and folds under load. Also consistent with what I am holding.
Either way the fix is the same, and it is not more polishing. Go back to the 1000, raise a burr again along the full length, then take it off with alternating passes so light the blade is almost floating. Next session.
This is the part the videos skip. The first failure mode is never reaching the edge. The second is reaching it and then destroying it on the way out. I seem to have gone straight to the second.
What I would buy, knowing what I know now
I bought one object. I should have bought three, and one of them is free.
A marker pen. Free, or near enough.
Colour the bevel, take three strokes, look at where the ink went. It is the difference between an hour of sharpening and an hour of polishing the wrong part of the blade. If you take one thing from this article, take this.
A combination stone, 1000 and 6000 grit.
Mine is a King KW-65 — one stone, two faces, sitting in a plastic base so it does not slide around. It runs about $47. It is the stone that turns up in every English-language beginner recommendation, and having used it I understand why: the 1000 side cuts at a reasonable rate, and having 6000 on the back means you are not buying a second object to finish with.
Be clear about the division of labour. The 1000 side is where all the work happens. The 6000 side is a twenty-stroke job at the end — and, on the evidence of my first attempt, the twenty strokes most likely to undo the previous hour.
A flattening stone. I still do not own one, and I was wrong not to.
The stone wears down — that is how it works, fresh abrasive keeps coming to the surface as the old grit breaks away. King stones use a softer binder than most and dish faster than average. A dished stone is a curved stone, and you cannot put a straight edge on a curved surface. Mine still looked flat after one session, which buys me a little time and not much more.
Most guides go: buy a stone, watch a video, sharpen. They leave out that the stone is a consumable with maintenance of its own. Budget for two objects, not one.
A coarse stone, 200 to 400 grit — but only if your edge is chipped.
This is the one I actually needed and did not have. Removing a chip means grinding the entire edge line back past the deepest notch, and a 1000 grit stone does that at a crawl. If your knife is merely dull, skip this and save the money. If it looks like the photograph at the top of this article, it is the difference between twenty minutes and an afternoon.
What I would not buy
A clamp-on angle guide. A pull-through sharpener — those grind at a fixed angle regardless of what your knife was ground to, and on a Japanese knife that is how the geometry gets quietly destroyed. A leather strop, which refines an edge you do not have yet.
And do the learning on the knife you are least afraid of. Mine is thirteen years old, cost a few thousand yen, and has been through a dishwasher more times than I can count. There was nothing I could do to it in an hour that came close to what I had already done to it over thirteen years.
Where I actually got to
Thirteen and a half years, one hour, one stone: a knife that is better than it was and is not yet sharp.
The middle cuts paper under pressure, which is not the same as cutting paper. The tip and the heel do not cut. The chips are still there.
That is a mediocre result, and I would rather report it than dress it up. It is close to what your first session will look like, and every guide I read implied otherwise — which is why I spent the evening assuming I had done something exotic wrong, rather than the ordinary thing that everybody does.
I do not regret any of it. The knife is better than it was that morning. I know what the marker test is for. I know what a burr feels like, which is not something you can learn from a video. And I know exactly which twenty strokes to be careful about next time.
What I would tell you, having done this precisely once:
Use a marker. It is the difference between an hour of work and an hour of nothing.
Chase the burr, not the appearance. Full length, both sides, before you go near the finishing stone.
Then treat the finishing stone as the dangerous part, not the victory lap. That is where I think I lost it.
Practise on the knife you are not afraid of. Mine cost a few thousand yen, is thirteen years old, and I could not have hurt it if I tried.
And do not let a sheet of paper tell you the job is done. It only knows about a third of your knife — and on a bad day, it will lie about that third too.